Add, remove, and reorder tabs that appear in your Navigation Bar for easier and cleaner navigation customized to your individual needs. See the GIF below to view us adding the “View All Interactions” tab to our Navigation Bar.
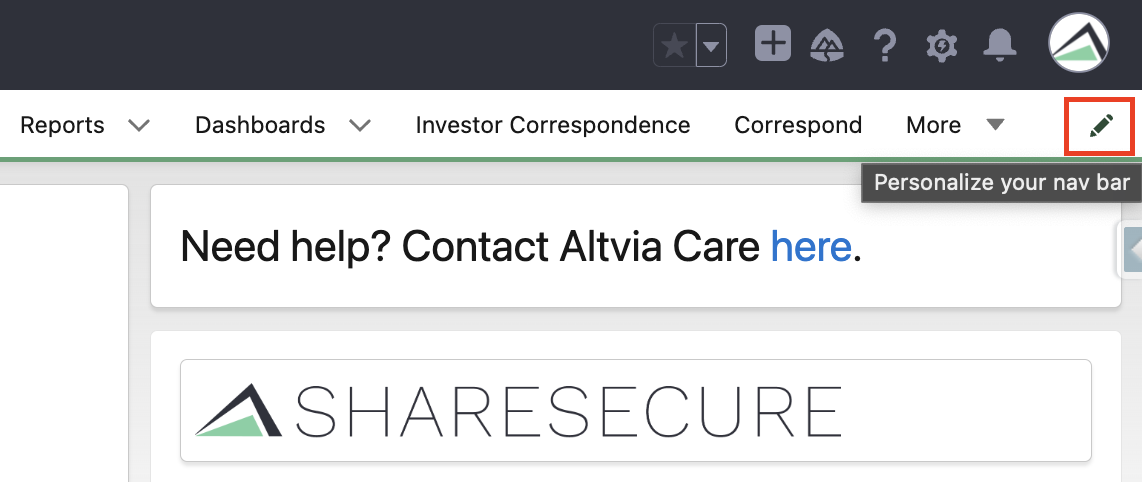
- In the Navigation Bar at the top, click the Pencil icon as shown below located at the far right.
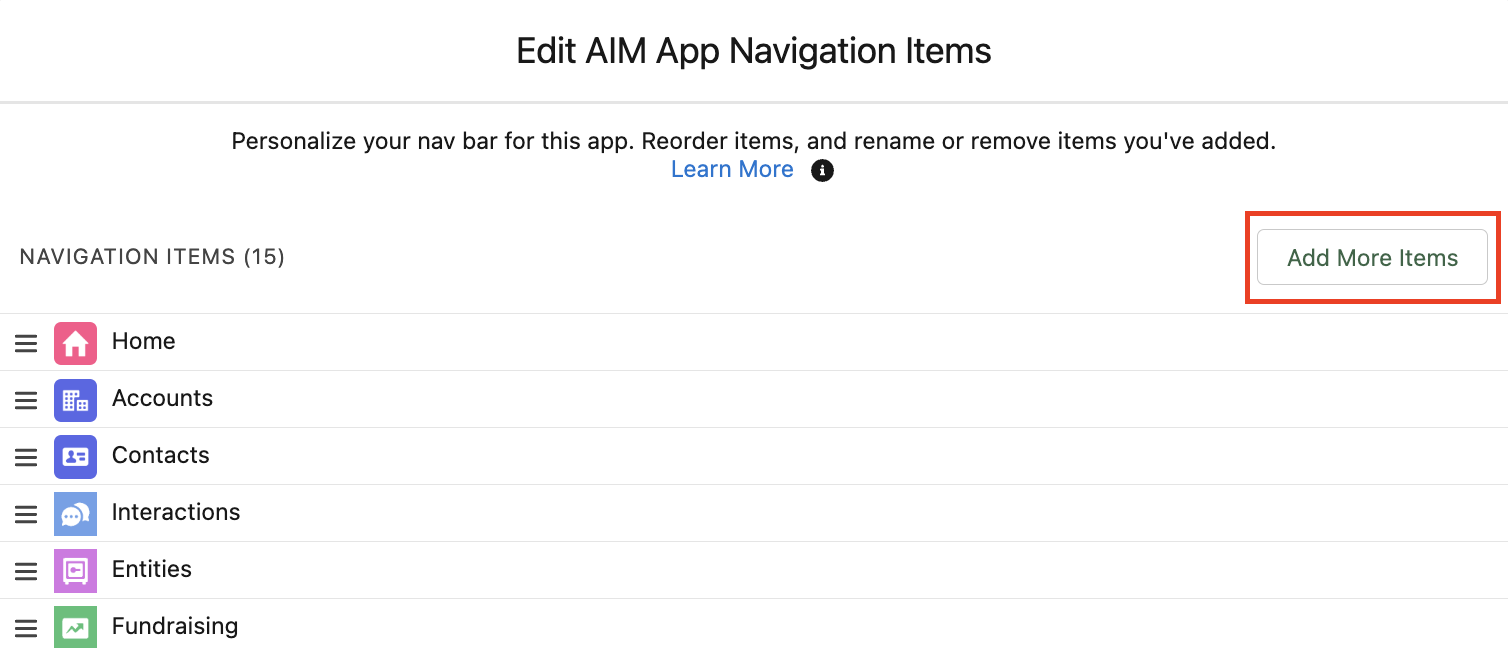
- A popup window will appear. On the popup page, you can customize the order in which objects appear by dragging and dropping them. (Note: You can also do this by dragging and dropping the tabs directly on your Navigation Bar as depicted in the next section of this article). If there’s a tab you’d like to add that’s not already in your Navigation Bar, click “Add More Items” as shown below.
- Click “All” to view a list of available tabs/objects you’re able to add to your Navigation Bar. Use the search bar to find a specific tab/object. When you’ve found the tab/object you’d like to add, click the “+” as shown below.
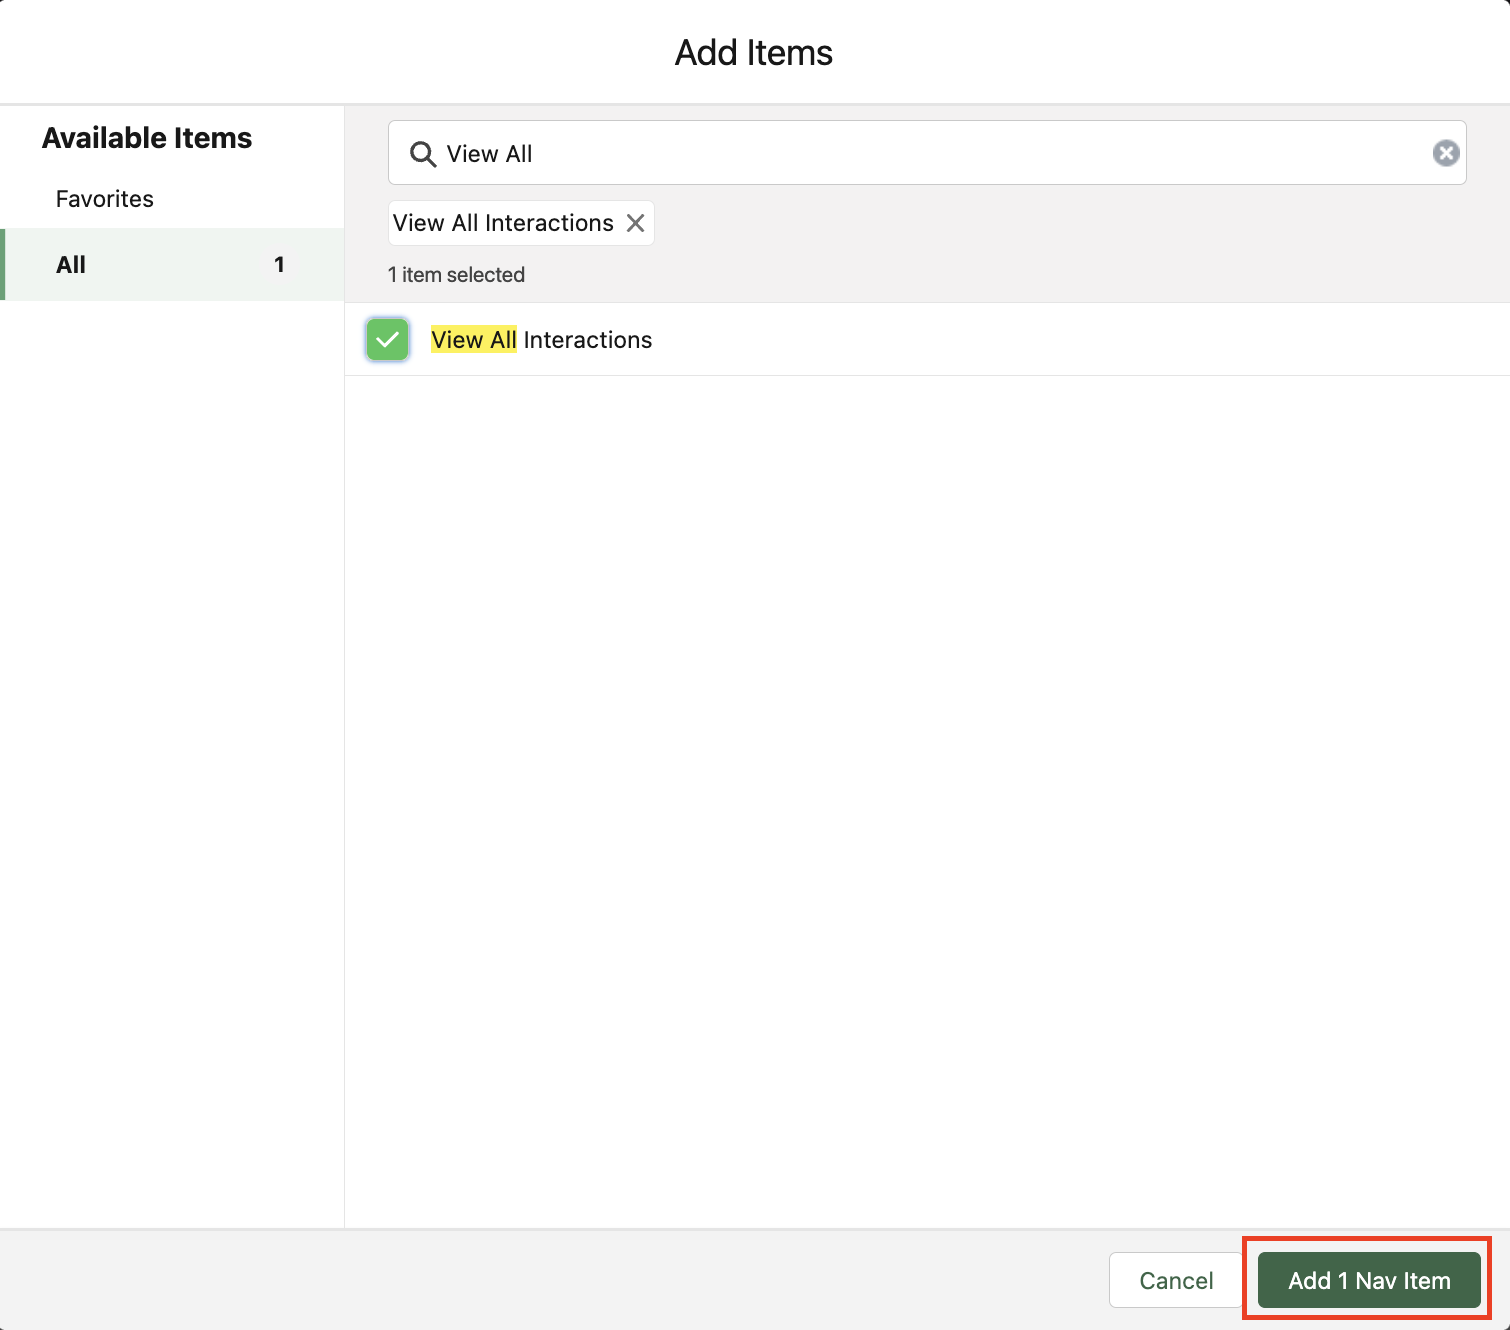
- After clicking “+” next to the tab/object you’d like to add, click the blue button in the bottom right as shown below to confirm the addition.
- Drag and drop your newly added tab/object so it appears in the order you’d like it to in your Navigation Bar. Then click “Save”.
Adding Pages Temporarily & Permanently
- If you want to reorder your tabs, drag and drop the tabs around your navigation bar.
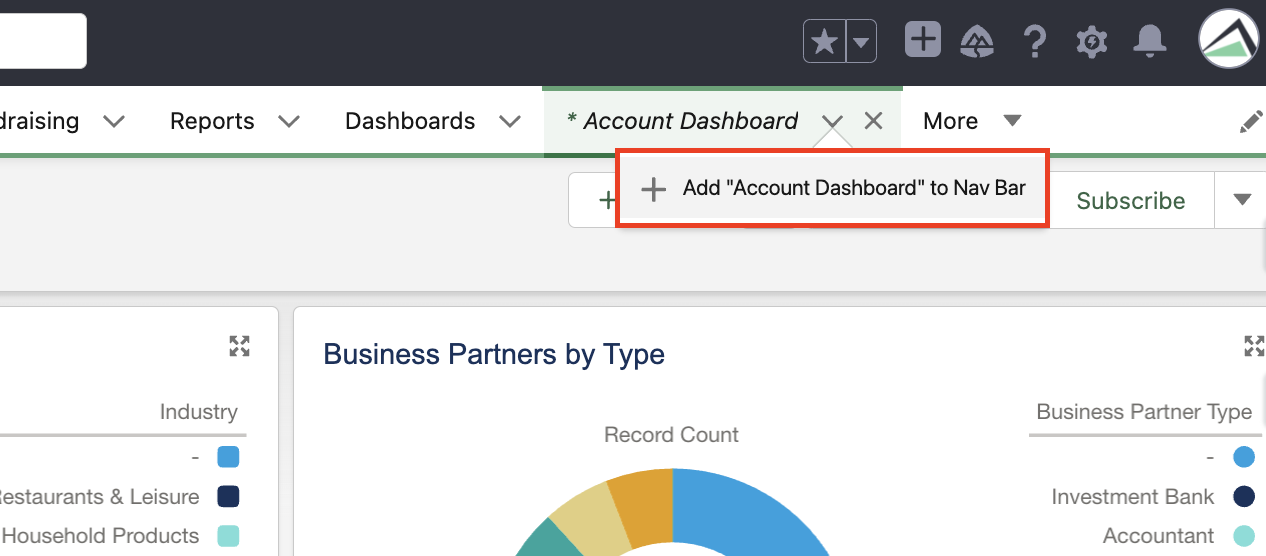
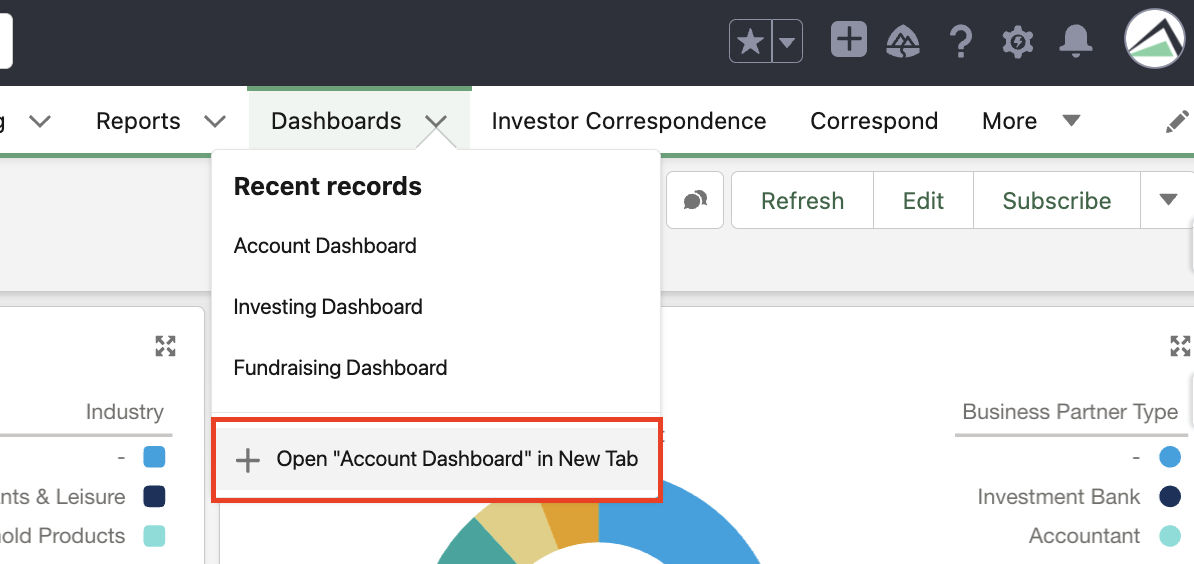
- If you’re viewing a page, such as a List or Dashboard, and you wish to add it to your Navigation Bar temporarily, select “Open in New Tab” from the tabs drop-down menu as depicted below.
- To permanently add the tab to your Navigation Bar, select “Add to Nav Bar” from the temporary tabs drop-down menu as shown below.