To report on history changes, you will need to ensure History Tracking is enabled for the selected field(s).
To do so, go to the related Object in Settings > Object Manager, and select “Fields & Relationships”. You will then select “Enable Field History Tracking” and select or deselect any fields you’d like to begin or finish tracking. Please note, it is not possible to retroactively track field history, and there is a limit of 20 fields per Object unless you purchase or already use Salesforce Shield. Please contact Altvia Support for more information.
Steps
- On the “Reports” tab, click “New Report”
- Choose the correct history report type you need based on the object that fields live on. (Ex. The “Account Address” field lives on the Account object hence the need to choose the “Account History” report type.)
- Change your filters as necessary to show you all records.
- Arrange the columns as you wish. A few key fields/columns to include:
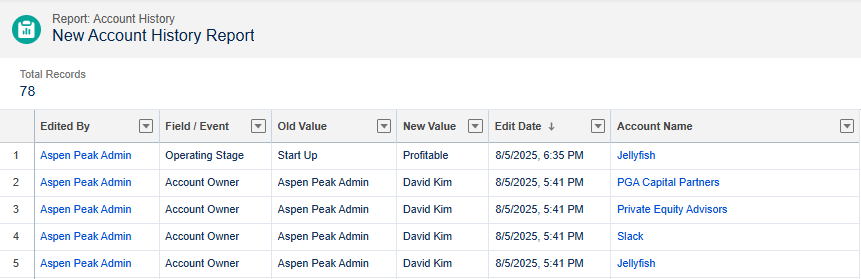
- A = Who edited the field (Edited By)
- B = Which field was edited (Field/Event)
- C = The value before it was changed (Old Value)
- D = The value after it was changed (New Value)
- E = When it was edited (Edit Date)
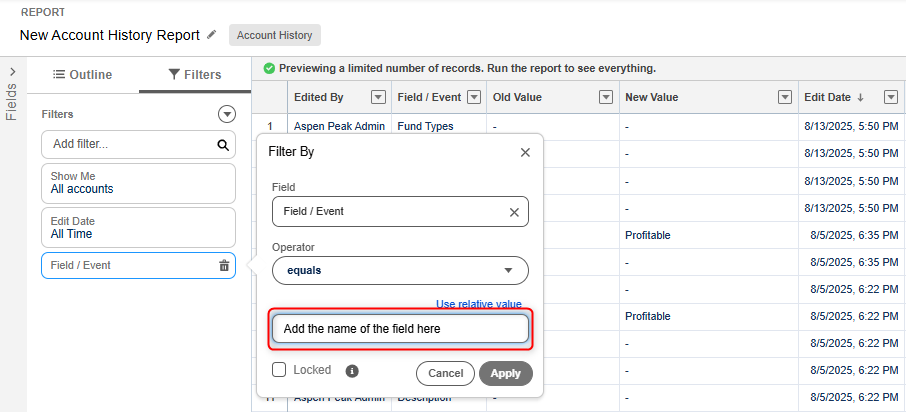
Add a filter to your report if you’d like to narrow down the history of changes. Adding the name of the specific field you’re interested in, using the filter “Field/Event”, will show you solely the changes made to that field.
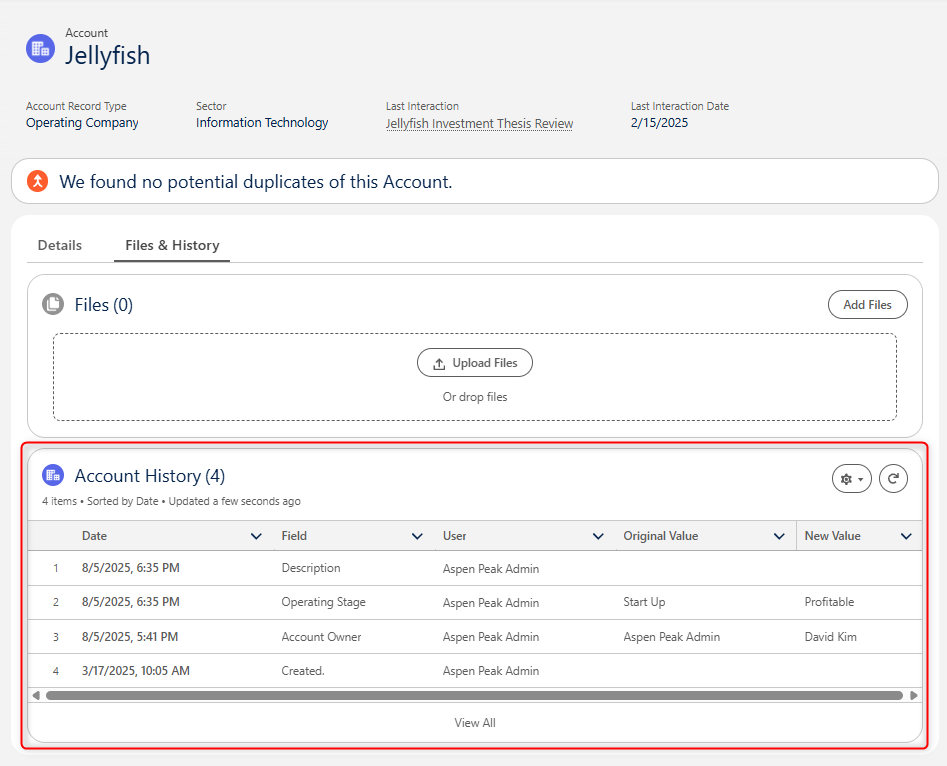
NOTE: The history of changes can also be seen by viewing the object’s ‘History’ related list.