Select Contacts for your Mailing List
Contacts may be pulled from: Reports (a), or Prior mailings (b)
Reports are used to generate “smart” lists of contacts to support mailings. Mailing lists may also be populated by contacts from prior mailings. When building mailing lists, it is also possible to combine contacts from reports by importing multiple reports. Lastly, contacts may be added manually by selecting the “Add Contacts” button. However, the contacts manually added must be in AIM. When you’ve finished creating your list, select “Back to Mailing” (c) in the upper left corner. This will save your list or prior mailing.
*IMPORTANT REPORT RULES:

- Only tabular, summary, and matrix reports will show up on the report import drop down/supported by the AIM Correspondence contact import tool. Joined reports are not supported.
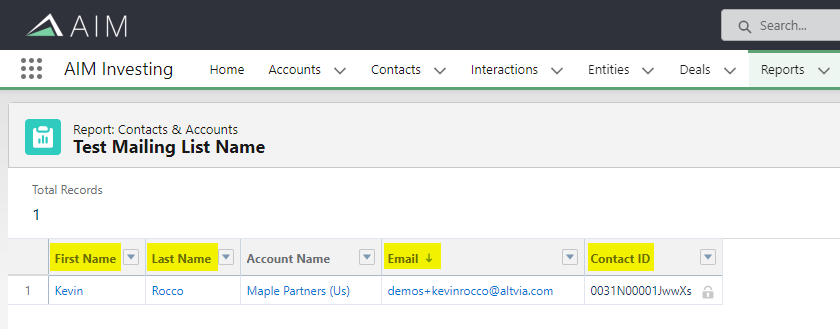
- The report MUST include the Contact ID as well as First Name, Last Name, and E-mail address.
- If the report exceeds 2,000 contacts, the ‘Managed Pagination ID’ column is also required. If you are unable to locate this field in the columns search bar, please reach out to Altvia Support.
- A mailing cannot be sent if at least one contact does not have an email address (we recommend adding a filter to the report that includes Email not equal to blank).
*IMPORTANT PRIOR MAILING LIST RULES:
- Prior Mailing Lists do not automatically update from the report. Before attaching a ‘Mailing List’ to a ‘Mailing’, it is important to use the ‘Refresh From Reports’ button on the mailing list you want to include in your mailing. This ensures that the mailing list is up to date with the results from the report.

Add the List to the Mailing
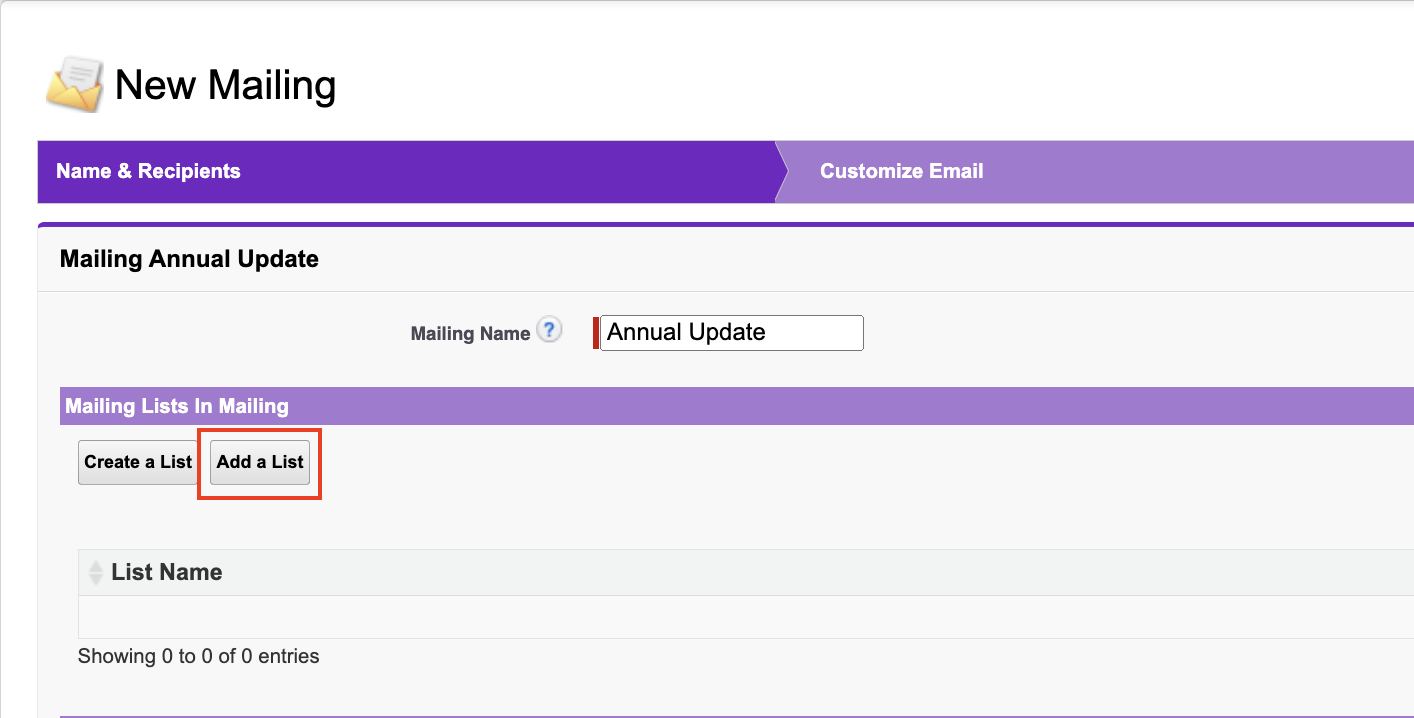
- The prior step has only created the mailing list of contacts but you still need to add the list to your mailing. To add the list to your mailing: Select the “Add a List” button and then select your list from the drop-down menu. In the future, this is how you will add lists that you have already created to your mailings.
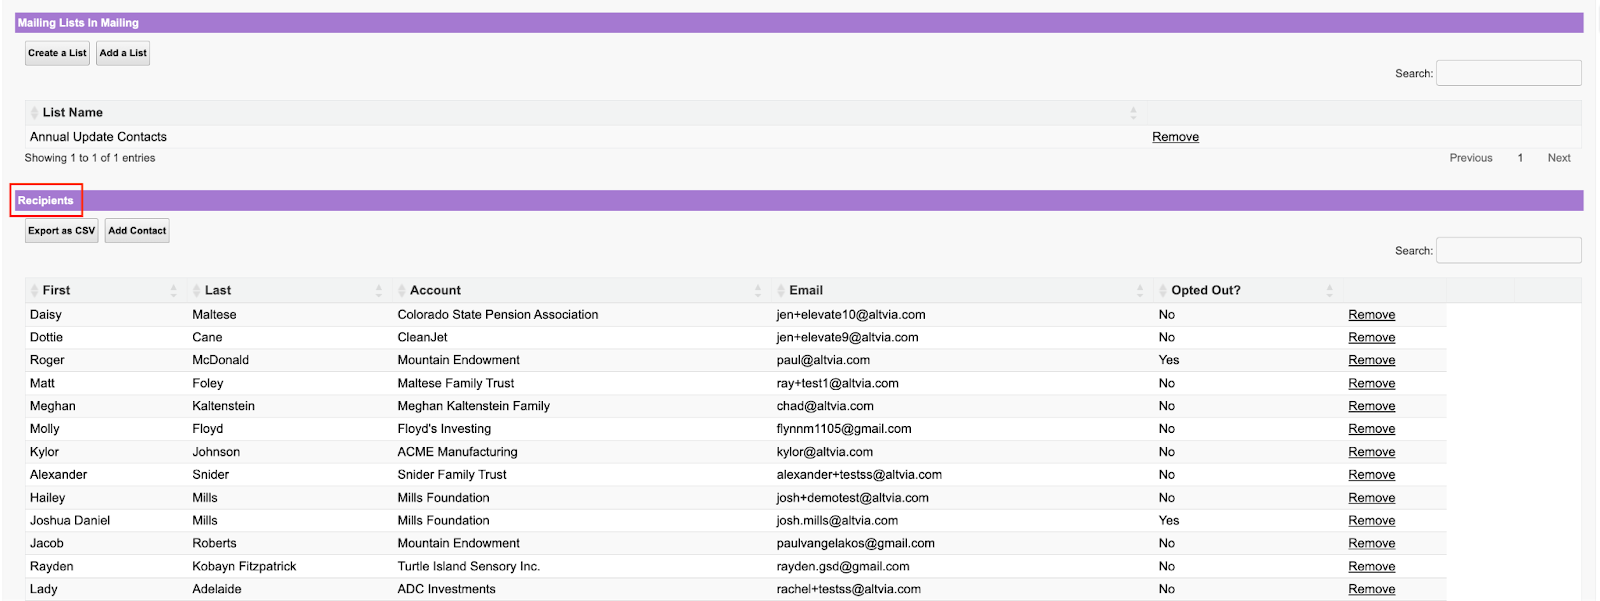
- Once you’ve selected your mailing list, the contacts will show up individually under ‘Recipients’. Confirm your recipients in the mailing and then select “Save & Next” at the bottom.
- Type a subject that you want to show up as the subject of the mass email. Click ‘Save & Next’. This will prompt the reveal of templates. If you do not type in a subject the email templates will not populate.
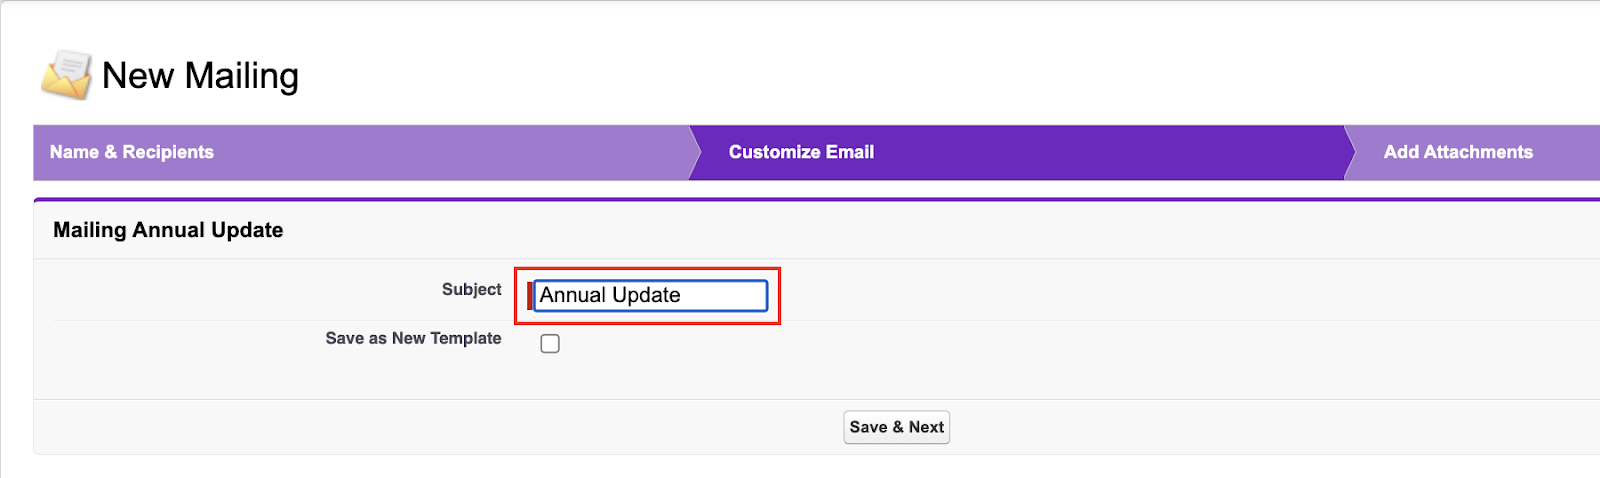
*NOTE: During the subject typing step, you will have the ability to save the email you are creating as a template for future mailings.