Merge tags, also known as merge fields or merge variables, are placeholders used in document creation and email marketing to personalize content for individual recipients. They are typically enclosed within special characters or brackets, such as {{ }}, and are replaced with specific data when the document or email is generated or sent.
Merge tags allow you to dynamically insert information like a recipient’s name, email address, or other personalized details into a template, making your communications more tailored and engaging.
Steps:
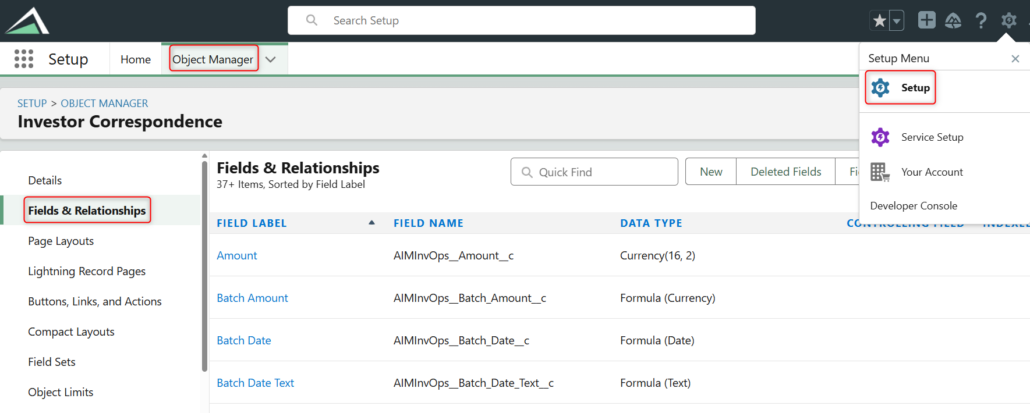
- Go to Setup > Object Manager > Investor Correspondence > Field & Relationships
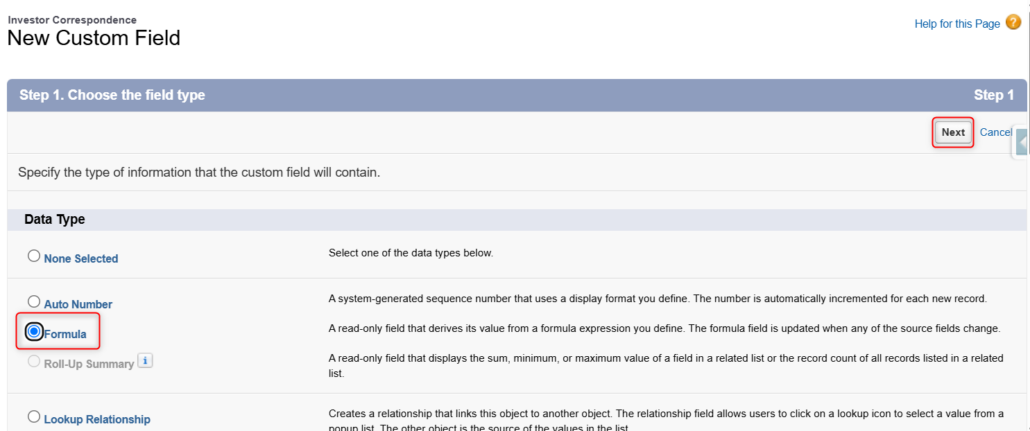
- Click “New” in the top right and select “Formula” from the “Choose the field type” page. Click “Next”.
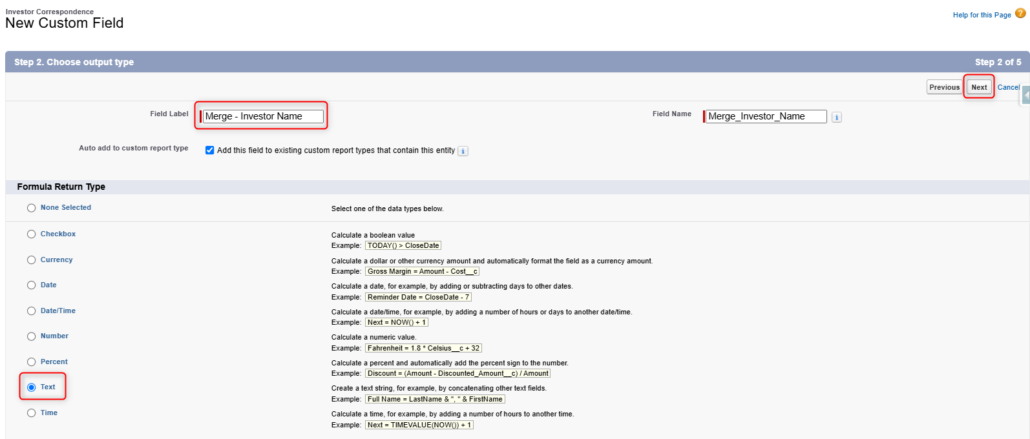
- On the “Choose output type” page, enter the name of the field in the “Field Label”, including “Merge” to easily identify the function. For example, name the field “Merge – Investor Name”, then select a “Text” Formula Return Type. Hit “Next”.
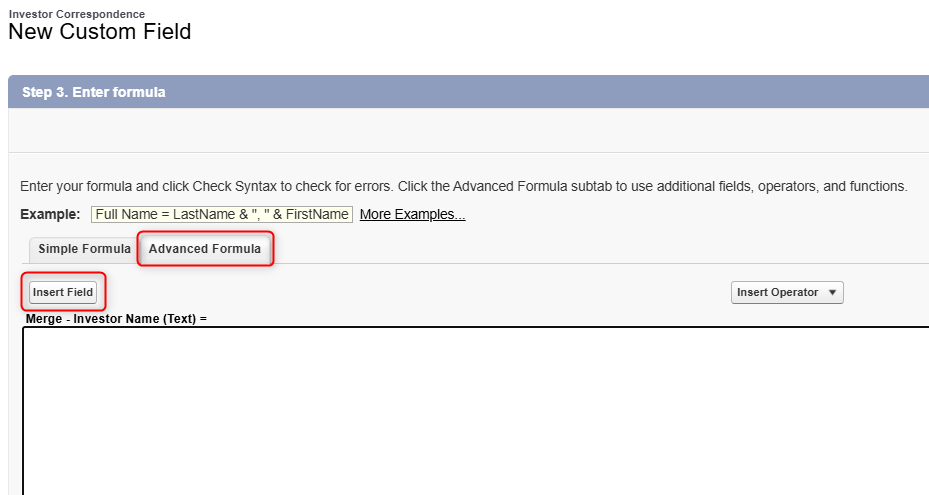
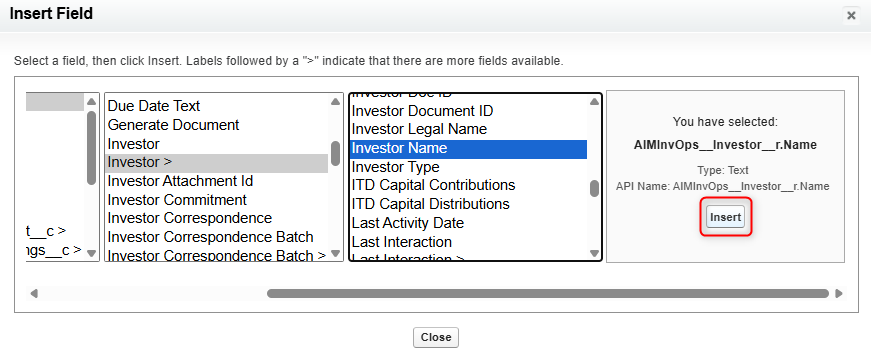
- On the “Enter formula” page, go to the “Advanced Formula” tab and select “Insert Field”, choose the field you’d like to use for the Merge Tag, and select “Insert” on the final screen. For this example, we are selecting the Investor Name by clicking Investor Correspondence > Investor > Investor Name > Insert.
- Check your syntax and finish adding the field. If it is a date or number field, add TEXT before the field name, i.e. TEXT(field name). Select “Treat blank fields as blanks” and click “Next”.

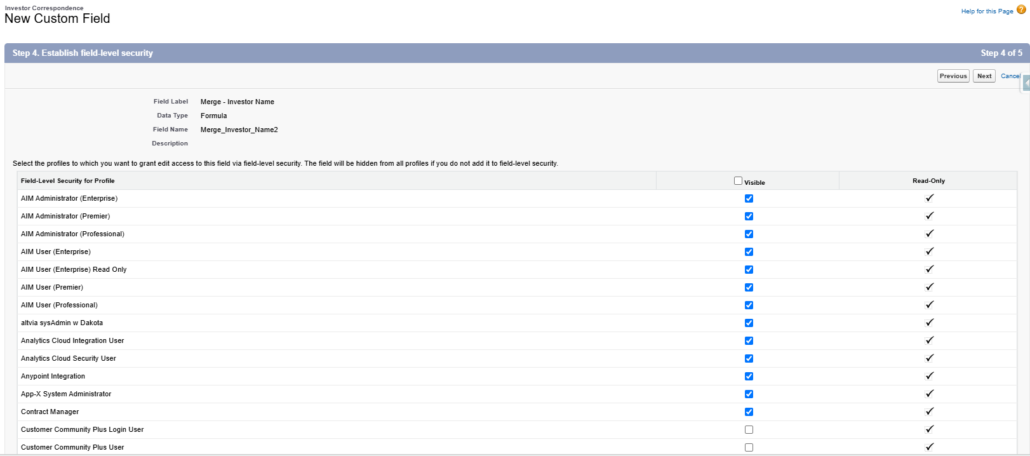
- On the “Establish Field Level Security” page, select any profiles that should have “Read” access to this field and deselect any that shouldn’t. Click “Next”.
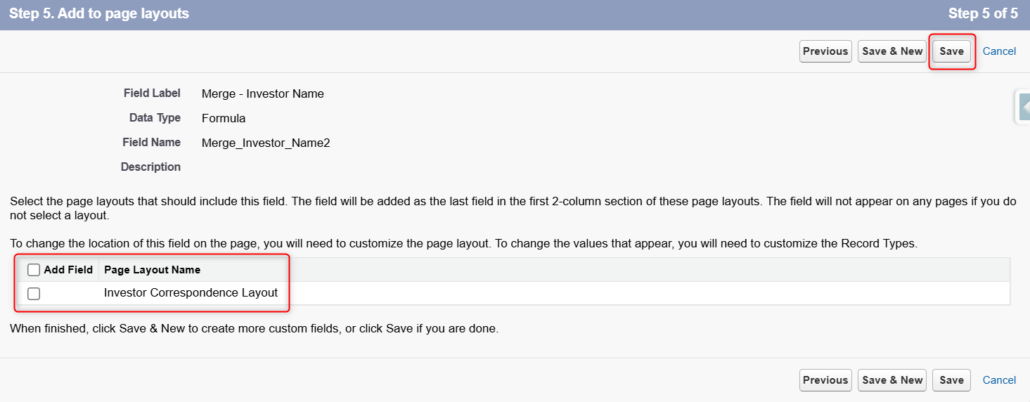
- You do not need to add the merge fields to the page layout. Uncheck the “Add Field” checkbox and click “Save”.
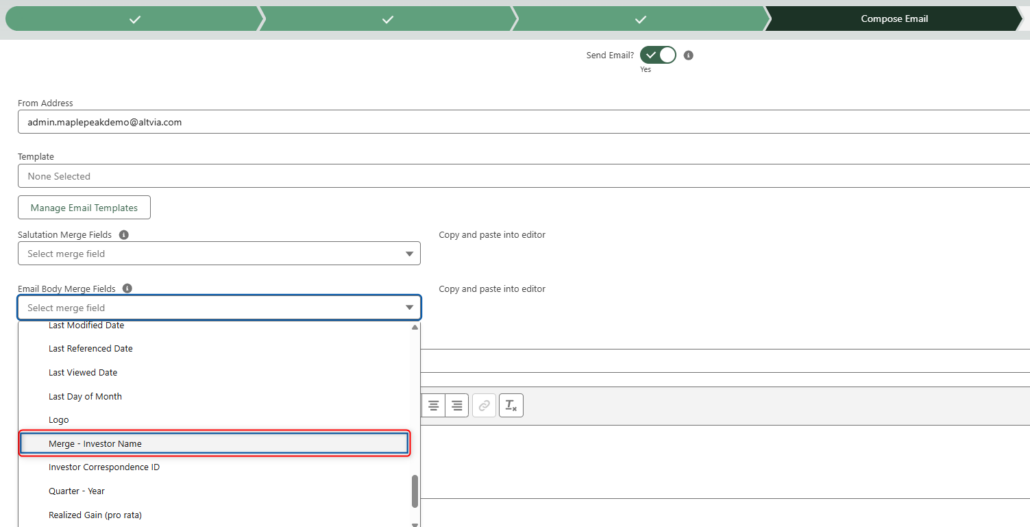
You should now see your merge tag within Investor Correspondence.