
When creating a marketing email within Mailings, it is best practice to send a test email to ensure all edits look correct and the email was received correctly. Follow the steps below to create a test email.
Steps:
- Prepare your mailing until you are ready to send.
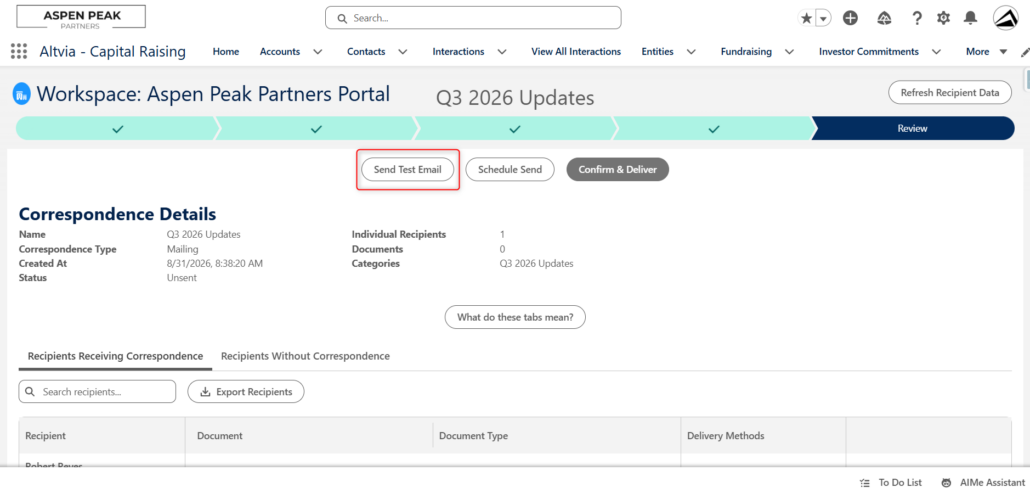
- On the final step ‘Review’, locate the ‘Send Test Email’ button.
- Insert the emails you’d like to send the mailing to.
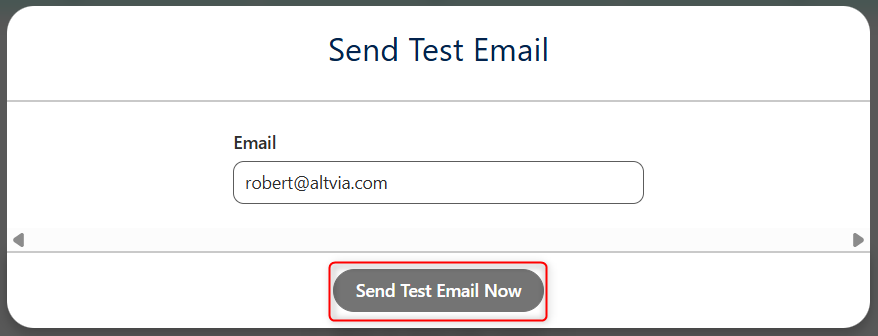
- Click the ‘Send Test Email Now’ button. You will receive a success message.
- Confirm the mailing looks good once received at the intended email address before sending the mailing.
Note: We recommend sending a test email to both Gmail and Outlook accounts to confirm the formatting is consistent, as different email providers may display content differently.
Was this helpful?
Thanks for your feedback!
