Salesforce is requiring MFA (Multi-Factor Authentication) for users. There are a variety of authentication options available, and this guide will provide admin users with information regarding these options and the setting adjustments needed to enable MFA.
MFA Options Available
One of the primary options for MFA methods is the Salesforce Authenticator app, which can be downloaded and installed on any mobile device. This app provides individual users with verification codes they can use upon signing into their account, and can be directly linked to their user account.
Users can also use a third-party authentication method if preferred, especially if they already use a program for other logins or programs. These include (but are not limited to) Microsoft Authenticator, Google Authenticator, and Authy.
Enabling the Permission Set for MFA
In order for users to be able to connect their preferred MFA method, their profile must have the permission set enabled to connect the authentication program.
Important to note: once this permission set has been added to a user’s profile, they will be immediately prompted to connect their preferred authentication method upon their next login.
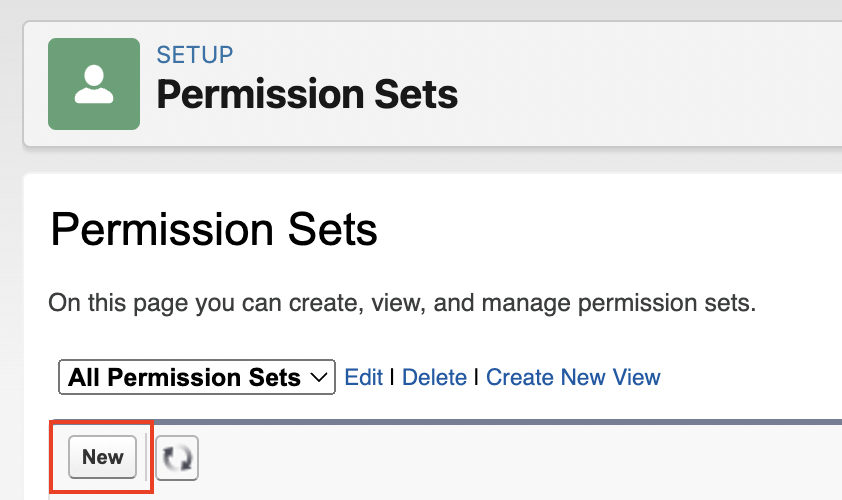
To check to see if this permission set has already been created, navigate to the Setup menu and select Permission Sets in the Users drop-down menu:

If already created, this permission set should include MFA within the title and indicate that it is for user logins. If not yet created, select the “New” button to proceed with creating a new permission set:
Once within the permission set menu, create the name for the new permission set alongside a description. We suggest a name and description similar to the following:
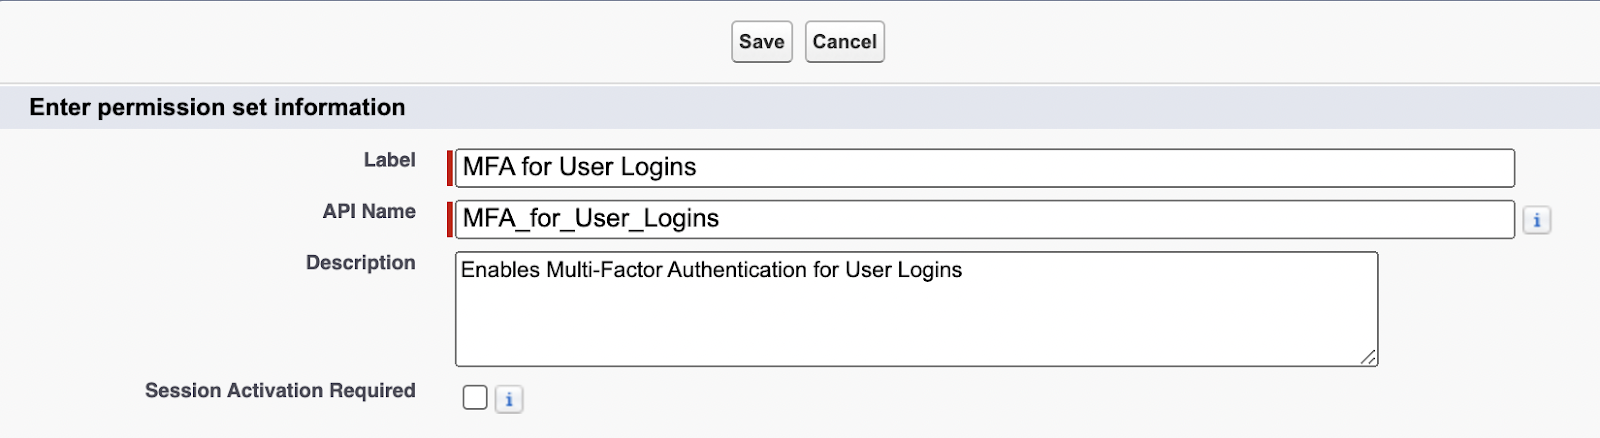
A specific License type does NOT need to be selected for this Permission Set.
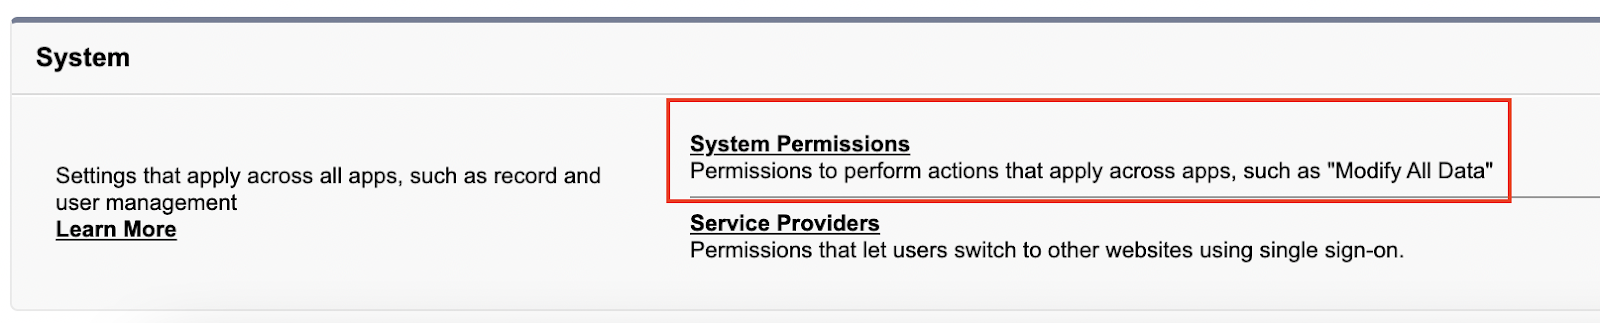
Once finalized, select “Save” to proceed to the next step. On the next page, scroll to the bottom of the page and select “System Permissions”:
Select “Edit” at the top of the screen prior to viewing the options available, and once within the editing mode scroll to the item that states “Multi-Factor Authentication for User Interface Logins”:
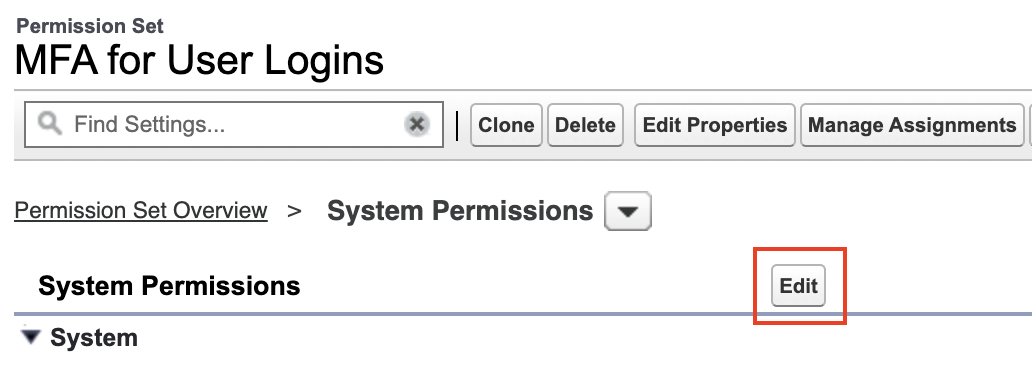
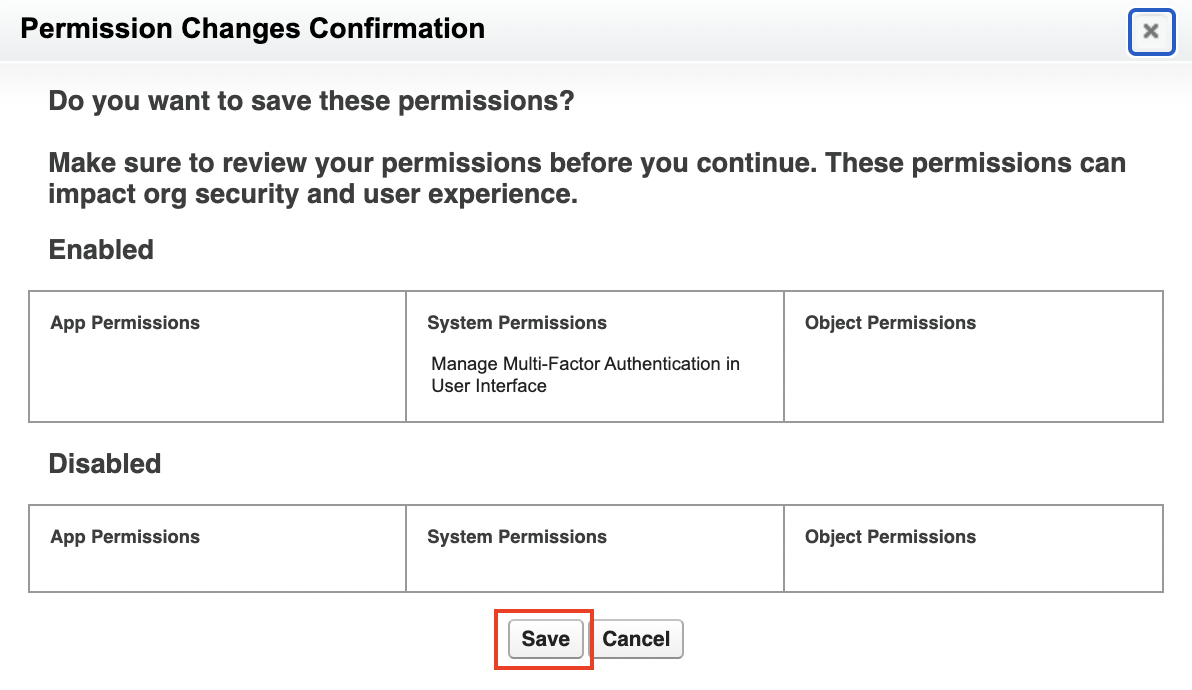
Once selected, click “Save” to finalize the permission set. On the following screen, select “Save” to confirm the updates:
The permission set has now been created and can be kept until users are ready to implement their preferred MFA methods.
Adding the Permission Set to User Profiles
Once users are ready to set up their preferred MFA method, you can add the permission set to their user profiles which will then prompt them to complete the setup process upon their next login.
To do so, within Permission Sets, click on the permission set that you just created and select the ‘Manage Assignments’ button.

In this menu, you can add this permission set to any number of users using the ‘Add Assignment’ button.

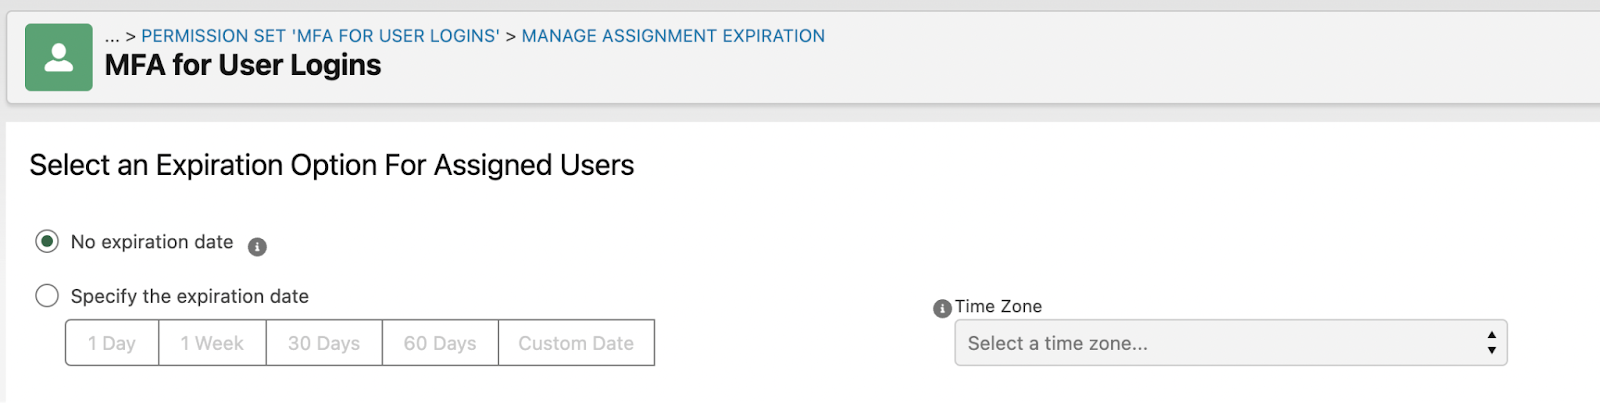
You will be walked through a process of assigning the Permission set to any number of users, along with being able to dictate how long a user should receive this permission set for. For the MFA permission set, we advise setting no expiration date.
Once you select “Assign”, the users will now be prompted to complete the setup process for their MFA method on their next login.
MFA Setup for User Accounts
Once the MFA permission set has been added to a user account, that user can proceed to connect their preferred MFA app. Here is our guide for users for the MFA app connection process.
Altvia Support (support@altvia.com) would be happy to assist with any questions you may have!